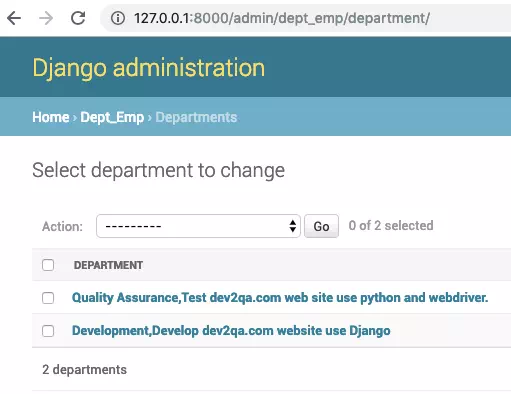
In the previous article How To Add Models To Django Admin Site, we have learned how to manage your Django app’s model data in the Django project admin website. But even we implement the model class’s __str__(self) function, we can only display one model class column in the project admin site like the below picture. This article will tell you how to display more model class columns on the admin site model list page. It also tells you how to add a search box, filter widget, and sort model data by click column name in the model object list page.
1. Customize Display Columns In Model Data List Page.
- Suppose our model class ( saved in dept_emp / models.py file ) is defined as below. It has three columns, id (auto-added by Django), dept_name, and dept_desc.
class Department(models.Model):
    dept_name = models.CharField(max_length=1000)
    dept_desc = models.CharField(max_length=1000)

    # difine string representation for this model class, will be used when display model class data in dajango admin web site.
    def __str__(self):
        ret = self.dept_name + ',' + self.dept_desc
        return ret

    class Meta:
        unique_together = ['dept_name']
To display both the three columns in the admin site model list page, you need edit the Django app’s admin.py file ( dept_emp / admin.py ), then define a class which extends django.contrib.admin.ModelAdmin class. In this example the class name is DepartmentAdmin. And then override the ModelAdmin class’s list_display attribute value by assign a column name list to it. The column name list will tell admin site which column will be displayed. Do not forget to register the ModelAdmin sub class use admin.site.register function at the end of admin.py file.
from django.contrib import admin

# the module name is app_name.models
from dept_emp.models import Department, Employee

# this class define which department columns will be shown in the department admin web site.
class DepartmentAdmin(admin.ModelAdmin):
    # a list of displayed columns name.
    list_display = ['id', 'dept_name', 'dept_desc']

admin.site.register(Department, DepartmentAdmin)
Go to Django project admin site, and browse the Department model list page again, you can find there are three columns in the mode data list now.

2. Add Search Box, Filter Widget, Sort Model Data By Click Column Name In Model Data List Page.
First let us look at what the model data list page looks like after modification. You can see that there add a search box at top, and add a FILTER widget in right, and the model data can be sorted by click the column name.

All these changes is very simple, what you need to do is just assign column name list values to the django.contrib.admin.ModelAdmin class’s various related attribute like below code. The list_display, search_fields, list_filter, prepopulated_fields and ordering attribute in below code defines what the model data list page looks like. To learn more ModelAdmin class’s fields please go to ModelAdmin official website.
class DepartmentAdmin(admin.ModelAdmin):
    # a list of displayed columns name.
    list_display = ['id', 'dept_name', 'dept_desc']

    # define search columns list, then a search box will be added at the top of Department list page.
    search_fields = ['dept_name', 'dept_desc']

    # define filter columns list, then a filter widget will be shown at right side of Department list page.
    list_filter = ['dept_name', 'dept_desc']

    # define which field will be pre populated.
    prepopulated_fields = {'dept_name': ('dept_name',)}

    # define model data list ordering.
    ordering = ('id','dept_name')
Thank you for your clear explanation.