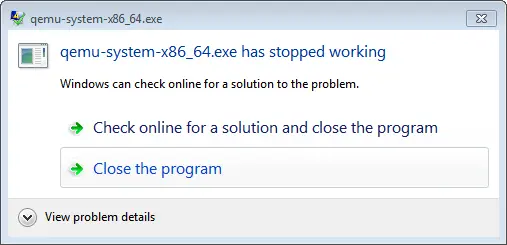
When I start an android virtual device ( AVD ) in my new machine ( which I just bought these days.), I meet an error message like this Qemu-System-X86_64.Exe Has Stopped Working. This error stopped my android virtual machine to start. After investigate for almost half a day, I finally find the reason why this error happened. Below I will show you how to fix it.
1. Fix Qemu-System-X86_64.Exe Has Stopped Working Error Steps.
- Click Tools —> Android —> AVD Manager menu item in android studio toolbar. AVD Manager menu item is under the Android Device Monitor menu item.
- Click the pencil icon at the end of the selected android virtual device row to open the AVD settings window.
- Click the Show Advanced Settings button in the window. Then it will show a lot of detailed settings for this AVD.
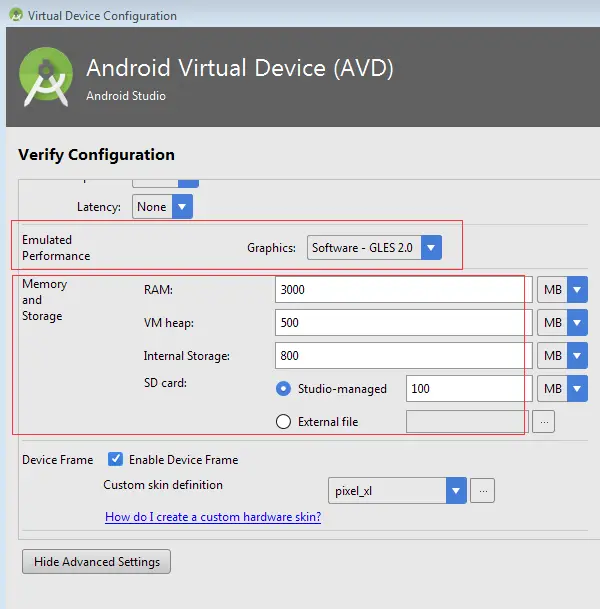
- Scroll down to the Emulated Performance section. There are three choices in the drop-down list. They are Automatic, Hardware – GLES 2.0, and Software – GLES 2.0.
- This option decides how to render the graphics in this emulator. Hardware means use the PC graphics card to make graphics render faster if you have a graphics card. Software means to use software to emulate graphics.
- Because my new machine does not has an independent graphics card, and this option’s value is Automatic by default so the error happened. Then I change the value to Software – GLES 2.0.
- You can also input larger values in the Memory and Storage section fields, such as RAM, VM heap, Internal Storage, and SD card. Then click the Finish button to complete the settings.
- Now when you start the AVD again, the qemu-system-x86_64.exe has stopped working error will disappear. And the AVD can be started normally.
2. Conclusion.
- Change Emulated Performance option value to Software – GLES 2.0 can fix the error qemu-system-x86_64.exe has stopped working.
3. Question & Answer.
3.1 Meet The Qemu-System-X86_64.Exe Has Stopped Working Error On Second Screen.
- My android app has 2 screens, when the android app goes to the second screen, the android emulator crashes and stoped with the error message qemu-system-i386.exe has stopped working. I use the latest android studio version 4.1.2 to develop the android app on Windows 7. And my computer memory size is 8 GB. I tried to make the minimized usage of RAM and resolution, but it still does not work, how can I fix this issue.
- There are several methods to fix this error. Method 1: Select the Software GLES 2.0 in the Emulated Performance drop-down list in the Android Virtual Device advanced settings panel, but this method may not take effect for some circumstances. Method 2: Change the resolution to 800*600 in the AVD advanced settings panel and change the RAM size lower than 512 MB. Method 3: Open the Windows OS Control Panel, then open the Hardware Settings window, click the Sounds —> Device Manager —> Display adapter and right click your Display Driver, and then click the Update menu item to update it. Method 4: You can remove the current AVD and create a new AVD, and make sure the new AVD will not consume so much memory and resolution.
Stiill I’m getting the same error
Fixed my problem immediately. Saved me from a huge headache.
Thanks! Cheers mate.
Thank you.
on my AVD the Emulated Performance is blocked i can not change the values … don’t know what to do… am using Android studio 3.1.0
It worked finally … but my AVD the Emulated Performance is still blocked… Any solution on how to activate it?
Make new device or create new hardware .