This example will show you how to use a swift CGRect object to draw a rectangle in the iOS app, it also shows you how to add the rectangle as the subview of the app’s main container view. In this example, we will create a new project DrawRectangleView, and this project will be added to the HelloWorldSwift workspace. So one Xcode workspace can contain multiple Xcode projects.
1. Create Xcode Project & Add It To Exist Xcode WorkSpace.
- Open Xcode, click File —> New —> Project… menu item to open new Xcode project window. The Project… menu item is under Target… menu item in the popup menu list.
- Select iOS —> Single View App template item in the popup window.
- Input Product Name ( DrawRectangleView ), Organization Name ( dev2qa.com ), and Organization Identifier ( com.dev2qa ), select language Swift in the Language drop-down list.
- Click the Next button in the above window, then select HelloWorldSwift in the Add to workspace drop down list. Then click Create button to create the project.
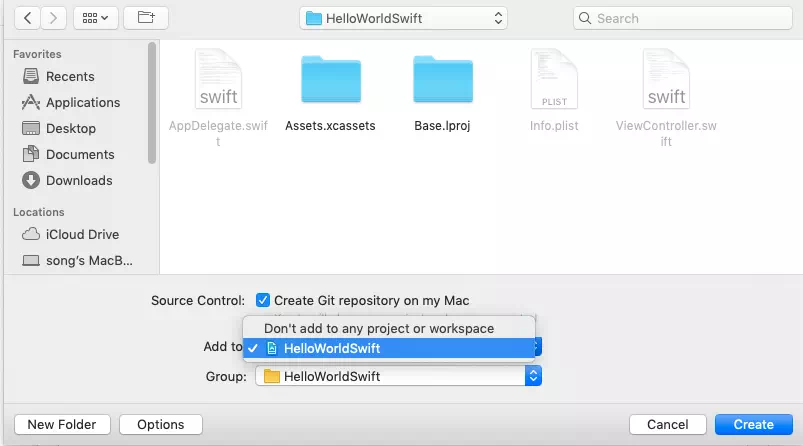
- After the above process, you will find the new Xcode project has been added to the existing Xcode workspace. The project folder name is DrawRectangleView.xcodeproj, there are two directories in this project folder, DrawRectangleView, and Products.
HelloWorldSwift

   HelloWorldSwift

      DrawRectangleView.xcodeproj

         DrawRectangleView

            AppDelegate.swift

            ViewController.swift

            Main.storyboard

            Assets.xcassets

            LaunchScreen.storyboard

            Info.plist

         Products

            DrawRactangleView.app
2. Add Rectangle In iOS App Screen.
- Double click the HelloWorldSwift / DrawRectangleView.xcodeproj / DrawRectangleView / ViewController.swift file to edit it.
- Add below code in it.
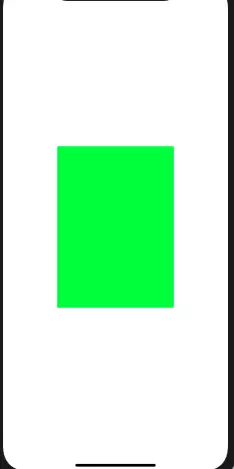
import UIKit class ViewController: UIViewController { /* This method will be invoked after view is loaded. We will create and add a green rectangle in the app screen in this method. */ override func viewDidLoad() { super.viewDidLoad() // get screen size object. let screenSize: CGRect = UIScreen.main.bounds // get screen width. let screenWidth = screenSize.width // get screen height. let screenHeight = screenSize.height // the rectangle top left point x axis position. let xPos = 100 // the rectangle top left point y axis position. let yPos = 300 // the rectangle width. let rectWidth = Int(screenWidth) - 2 * xPos // the rectangle height. let rectHeight = Int(screenHeight) - 2 * yPos // Create a CGRect object which is used to render a rectangle. let rectFrame: CGRect = CGRect(x:CGFloat(xPos), y:CGFloat(yPos), width:CGFloat(rectWidth), height:CGFloat(rectHeight)) // Create a UIView object which use above CGRect object. let greenView = UIView(frame: rectFrame) // Set UIView background color. greenView.backgroundColor = UIColor.green // Add above UIView object as the main view's subview. self.view.addSubview(greenView) } } - Now select the Xcode swift project and click the Run button to run the project.

- When the project start, a virtual iPhone will be started, you can see below the screen, there will display a green rectangle at the center of the screen.