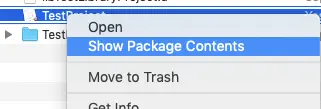
When you develop an iOS app, you may need to add some resource files ( such as image files, audio files, data files, etc) into it. And when you installed an iOS app binary file, you can open it in the macOS finder by right click the app binary file then click the Show Package Contents menu item in the popup menu list like below. Then it will display the iOS app package content in the mac finder like the second picture of below two pictures.
Picture 1: Click the Show Package Contents menu item to display the iOS app content files.
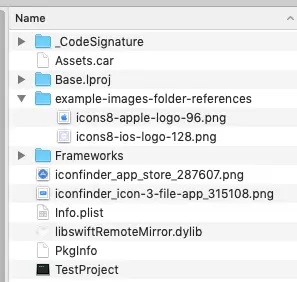
Picture 2:
When the iOS app package is opened in finder, it will display all its content files, you can see the resource files which has been added to it. In this example, the added resource files include Assets.car file, example-images-folder-references folder and its subfiles, iconfinder_app_store_287607.png image file, iconfinder_icon-3-file-app_315108.png image file. This article will tell you how to add them to the iOS Xcode project to create the iOS app package.
First, you should create an Xcode project, then you can add the above resource files into it in two ways, through Project navigator or Asset catalog. We will introduce how to use the two methods to add additional resource files into the Xcode project as below.
1. Add Files Into Xcode Project.
You can add one or more files ( such as image files ) into the Xcode project follow the below steps.
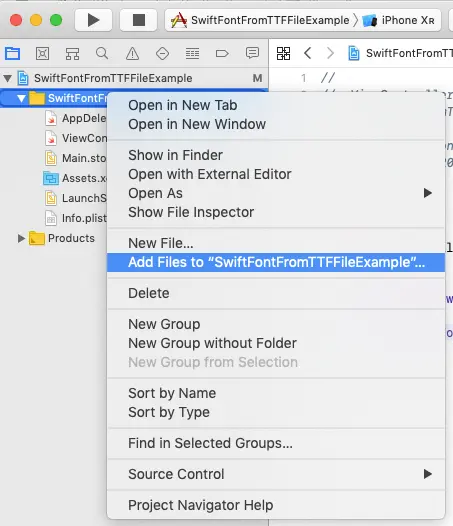
- Right-click the Xcode project folder, then click Add Files to ” project name “ menu item in the popup menu list.
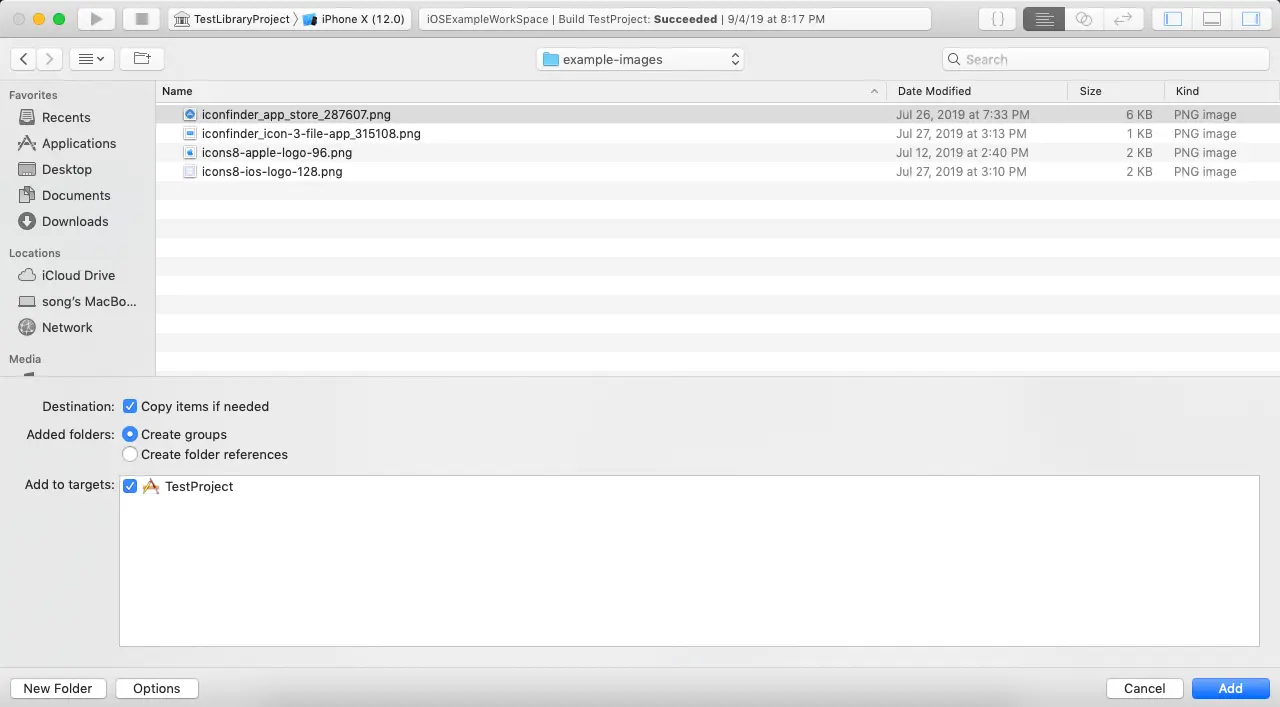
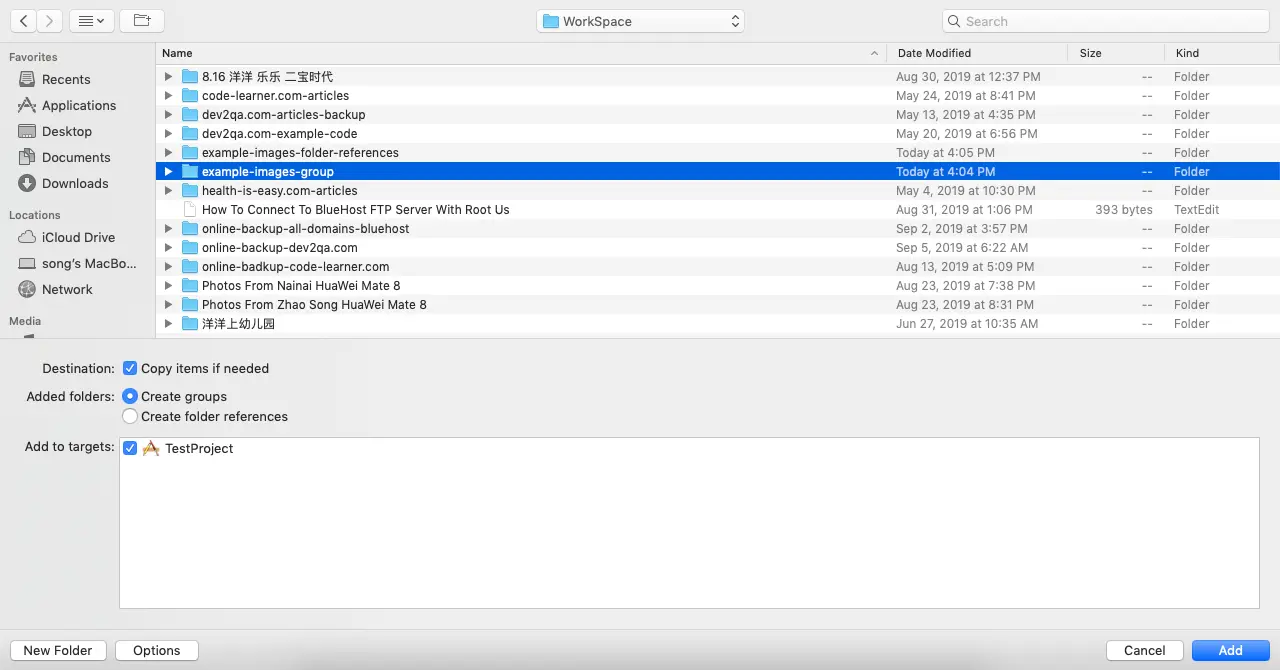
- Then select one or more files that you want to add to the Xcode project. Check Copy items if needed checkbox in Destination section to copy the added files to the target iOS app product. If you do not check this checkbox, the file will not be copied into the target iOS app, so when the files are missing outside then the iOS app will not work properly.
- Because we are not adding folders, so you can select any radio button in the Added folders section. The Added folders section is only useful when you add folders into the Xcode project.
- Select one target by check the checkbox before it in Add to targets section. Then click Add button to add it.
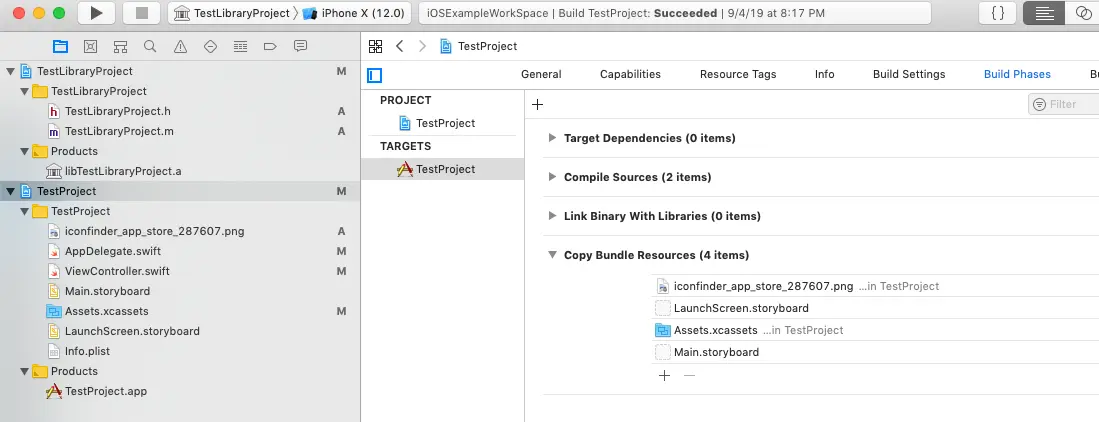
- After clicking the Add button, you can see the files have been copied into the selected project target’s Build Phases —> Copy Bundle Resources phase in the center editor window. Then when you build the iOS app product, it will copy the above files into the final iOS app package.
2. Add Folder Into Xcode Project, And Select Create Groups Radio Button In Added folders Section.
Besides files, you can also add folders into the Xcode project follow the below steps.
- Right-click the Xcode project in the project navigator.
- Click Add Files to ” project name “ menu item in the popup menu list.
- Select a folder, check Copy items if needed checkbox in Destination section.
- In the Added folders section, you can select either Create groups or Create folder references radio button.
- In this example, we will select Create groups radio button. This will add a group in Xcode left project navigator pane, the group name is the same as the folder name.
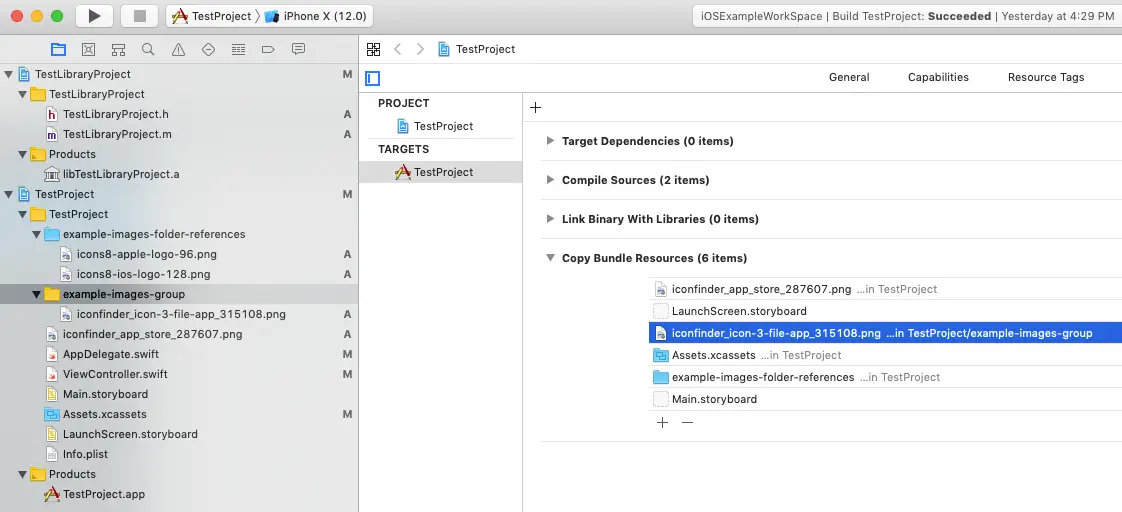
- When you click the Add button in the above dialog window, it will create the same name group folder ( a yellow folder with name example-images-group ) in Xcode left project navigator panel and add all the files in the selected folder into Xcode project target’s Build Phases —> Copy Bundle Resources phase in the center editor. All the files name in the folder is added at the top level of Copy Bundle Resources phase. All these files will be copied into the target iOS app product when building it. Please note the group folder is not added in the target’s Build Phases —> Copy Bundle Resources phase, only the group files are added to it.
3. Add Folder Into Xcode Project And Choose Create folder references Radio Button In Added folders Section.
- When you add folders into the Xcode project, you can also select Create folder references radio button in the Added folders section.
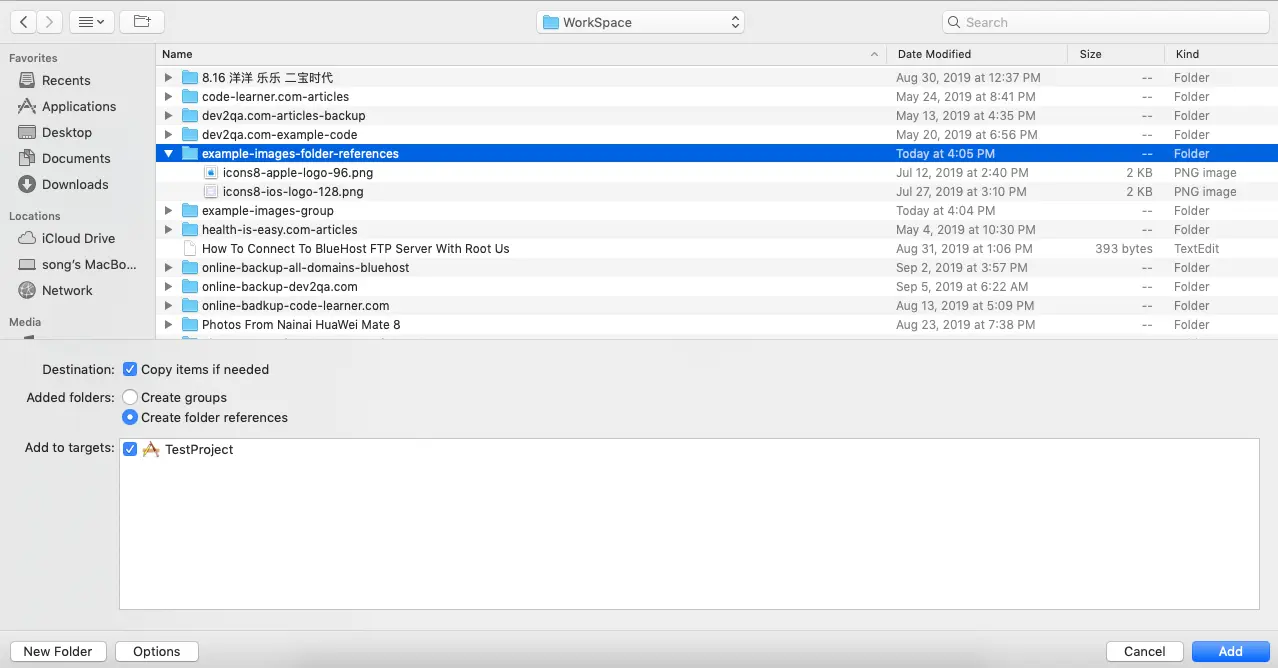
- Now when you click the Add button in the above dialog window, the referenced folder will be added as the same name blue folder ( example-images-folder-references ) in the left project navigator pane. And the selected folder and its subfolder and files will be added in the Xcode project target’s Build Phases —> Copy Bundle Resources phase. The referenced folder will be added at the top level of the Copy Bundle Resources phase. This is different from Create groups radio button choice.

4. Add Files Set In Xcode Assets Folder.
Besides add files or folders in the Xcode project navigator pane, you can also add them in the Xcode Assets folder to add them into iOS app product when building it, you can read the article How To Add iOS App Icon, Image, Color Set To Xcode Project Assets Catalog Correctly to learn more.
When you build the iOS app product, the Assets.xcassets folder will be copied into the iOS app also, this is because the Assets.xcassets folder has been added in the project target’s Build Phases —> Copy Bundle Resources phase when creating the Xcode project. The Assets.xcassets folder content files will be compressed into an Assets.car file.
5. How To Create The iOS App Product To Include All The Added Resources.
After adding all the above resource files to the Xcode project, they will be all added in the project target’s Build Phases —> Copy Bundle Resources phase. To copy them into the final iOS app, please follow the below steps.
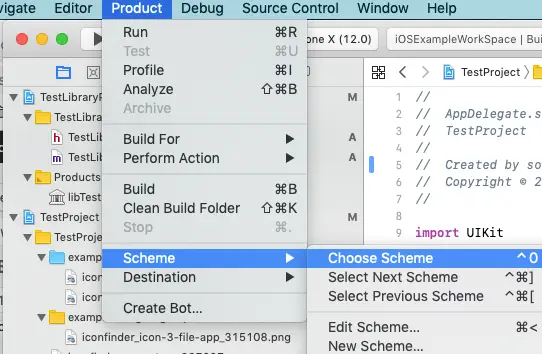
- First click Product —> Scheme —> Choose Scheme menu item to select the correct scheme.
- Then click Product —> Build menu item at Xcode top menu bar to create the iOS app product.
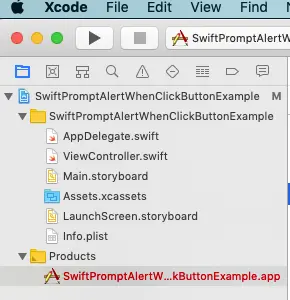
- Then you can find the iOS app in Xcode left navigator pane Products folder. If the iOS app product’s name’s color is red then it means the build is not successful. Fix the errors and rebuild until success.
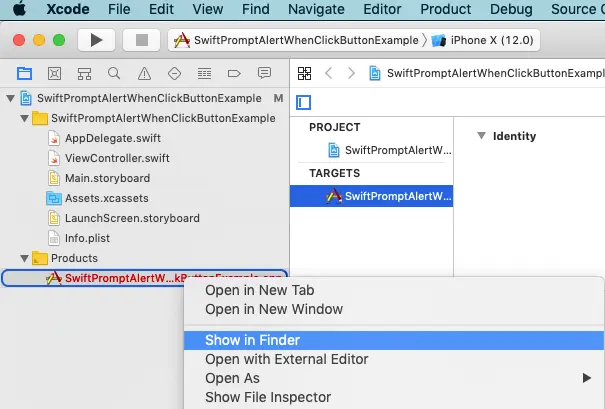
- If you want to locate the target iOS app product’s binary file in mac finder, just right-click the product name, then click Show in Finder menu item in the popup menu list.
- Then it will open a mac finder to locate the iOS app binary file, you can right-click it and click the Show Package Contents menu item in the popup menu list to display its content to verify whether the added files have been copied successfully or not.
6. How To Add Programmatically Generated File In Xcode And iOS App.
6.1 Question.
- My Xcode project will create an image file in the build phase, and only when the build complete the image file will be created and exist. And I also want to add the programmatically generated image file into the iOS app because this file will be used when the iOS app runs.
- The file name is fixed, but the file does not exist until build. If it is a manually created static file, I can follow this article to includes it into the Xcode project and published it in the final iOS app, but it is a programmatically generated file.
- Can anybody give me some help about how to add the programmatically generated file to the Xcode project and access it in the iOS app?
6.2 Answer.
- You can first add a file with the same name of the programmatically created file to the Xcode project follow this article.
- Then your program-created file will replace the above place holder file.
- And you can also access the file in your iOS app as normal.