MongoDB is most popular today, it is a NoSQL database. This article will tell you how to install it on macOS correctly.
1. Install MongoDB Server On macOS.
- Download MongoDB for the macOS version.
- Unzip the download file to a local folder.
- Add MongoDB bin folder into the PATH environment variable value with the following steps in the terminal.
# Go to user home directory.
192:~ $ cd ~
# Edit user profile file, add Mongodb bin folder to the PATH env variable value.
192:~ $ vim .bash_profile
# Make environment variable change take effect.
192:~ $ source .bash_profile
# Display new environment variable to verify the PATH value has been changed.
192:~ $ env
PATH=/Users/zhaosong/Downloads/mongodb-osx-x86_64-4.0.2/bin:
2. Start MongoDB Server.
- Open a terminal and run
mongodcommand in it.192:~ $ mongod
- If you meet the below error message, that means it can not find the /data/db folder, MongoDB needs this folder to run.
exception in initAndListen: NonExistentPath: Data directory /data/db not found., terminating
- Create the /data/db folder with the below command in the terminal.
sh-3.2# mkdir /data
sh-3.2# cd data
sh-3.2# mkdir db
- Now run
mongodcommand in terminal again, the MongoDB server will start successfully. - The DB server used default port number is 27017.
3. Connect To MongoDB Server.
- Now the MongoDB server has been started successfully.
- You can run the command
mongoin a terminal to connect to it.$ mongo # list all databases. > show databases admin 0.000GB config 0.000GB local 0.000GB test_db 0.000GB user_account 0.000GB > # switch to one database. > use user_account switched to db user_account > # list current database collections. > show collections account_info > # get the documents saved in this collection. > db.account_info.find() { "_id" : ObjectId("5f660745c658b4bb177dde73"), "user_name" : "hello", "password" : "haha", "email" : "[email protected]" } - Besides command, you can also use MongoDB GUI client MongoDB Compass to manage the NoSQL database.
- Download Compass to a local folder and install it.
- It will add an icon to the macOS desktop, click the icon to open it. It will open the MongoDB Compass – Connect dialog window.
- Click the New Connection item in the left panel, then you can input the connection properties data in the right Connect to Host panel.
- The database connection properties include Hostname ( localhost ), Port ( 27017 ), SRV Record, Authentication ( None ), Replica Set Name, Read Preference ( Primary ), SSL ( None ), SSH Tunnel ( None ), Favorite Name.
- Select None in the Authentication drop-down list then click the Connect button.
- After successfully login, you can click the Databases tab Create Database button to create a database. Input database name and collection name. In this example, I create a database user_account and the collection name is the same.
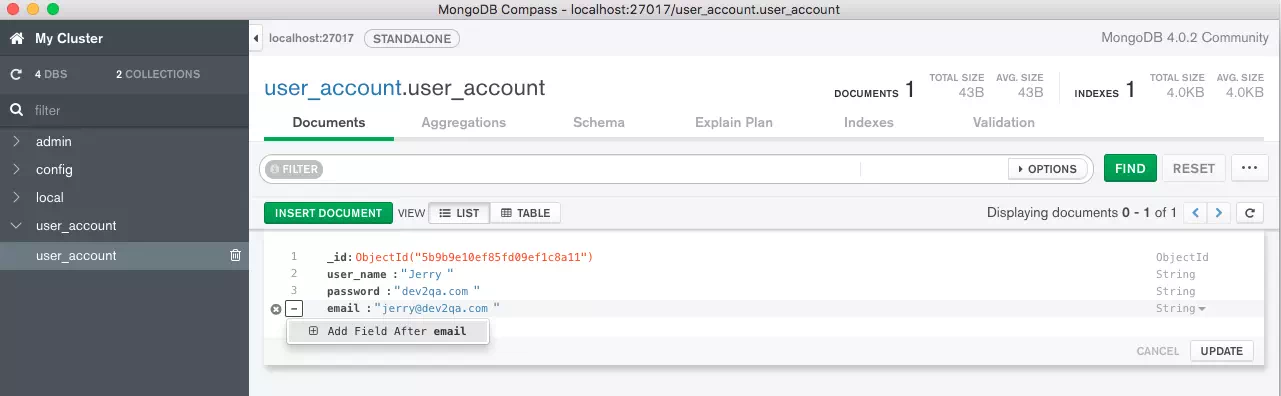
- Click the database user_account in the left panel to go into it, then click user_account collection, now you can insert, update, delete or query documents in it.
- After inserting a document, you can edit the fields in the document. Just click the edit button on the record right side, then click the plus button at each line beginning. There will popup Add Field After menu item. Click it to add a field. After changing the document, click the UPDATE button to save the changes.